Basic Volume Setup
These instructions are intended for users who want to setup a persistent volume for use across instances. To follow these instructions you’ll need to have already setup an instance.
Creating a Volume
Click the “Volumes” fold-out in the left-hand navigation pane - the fold-out should open.
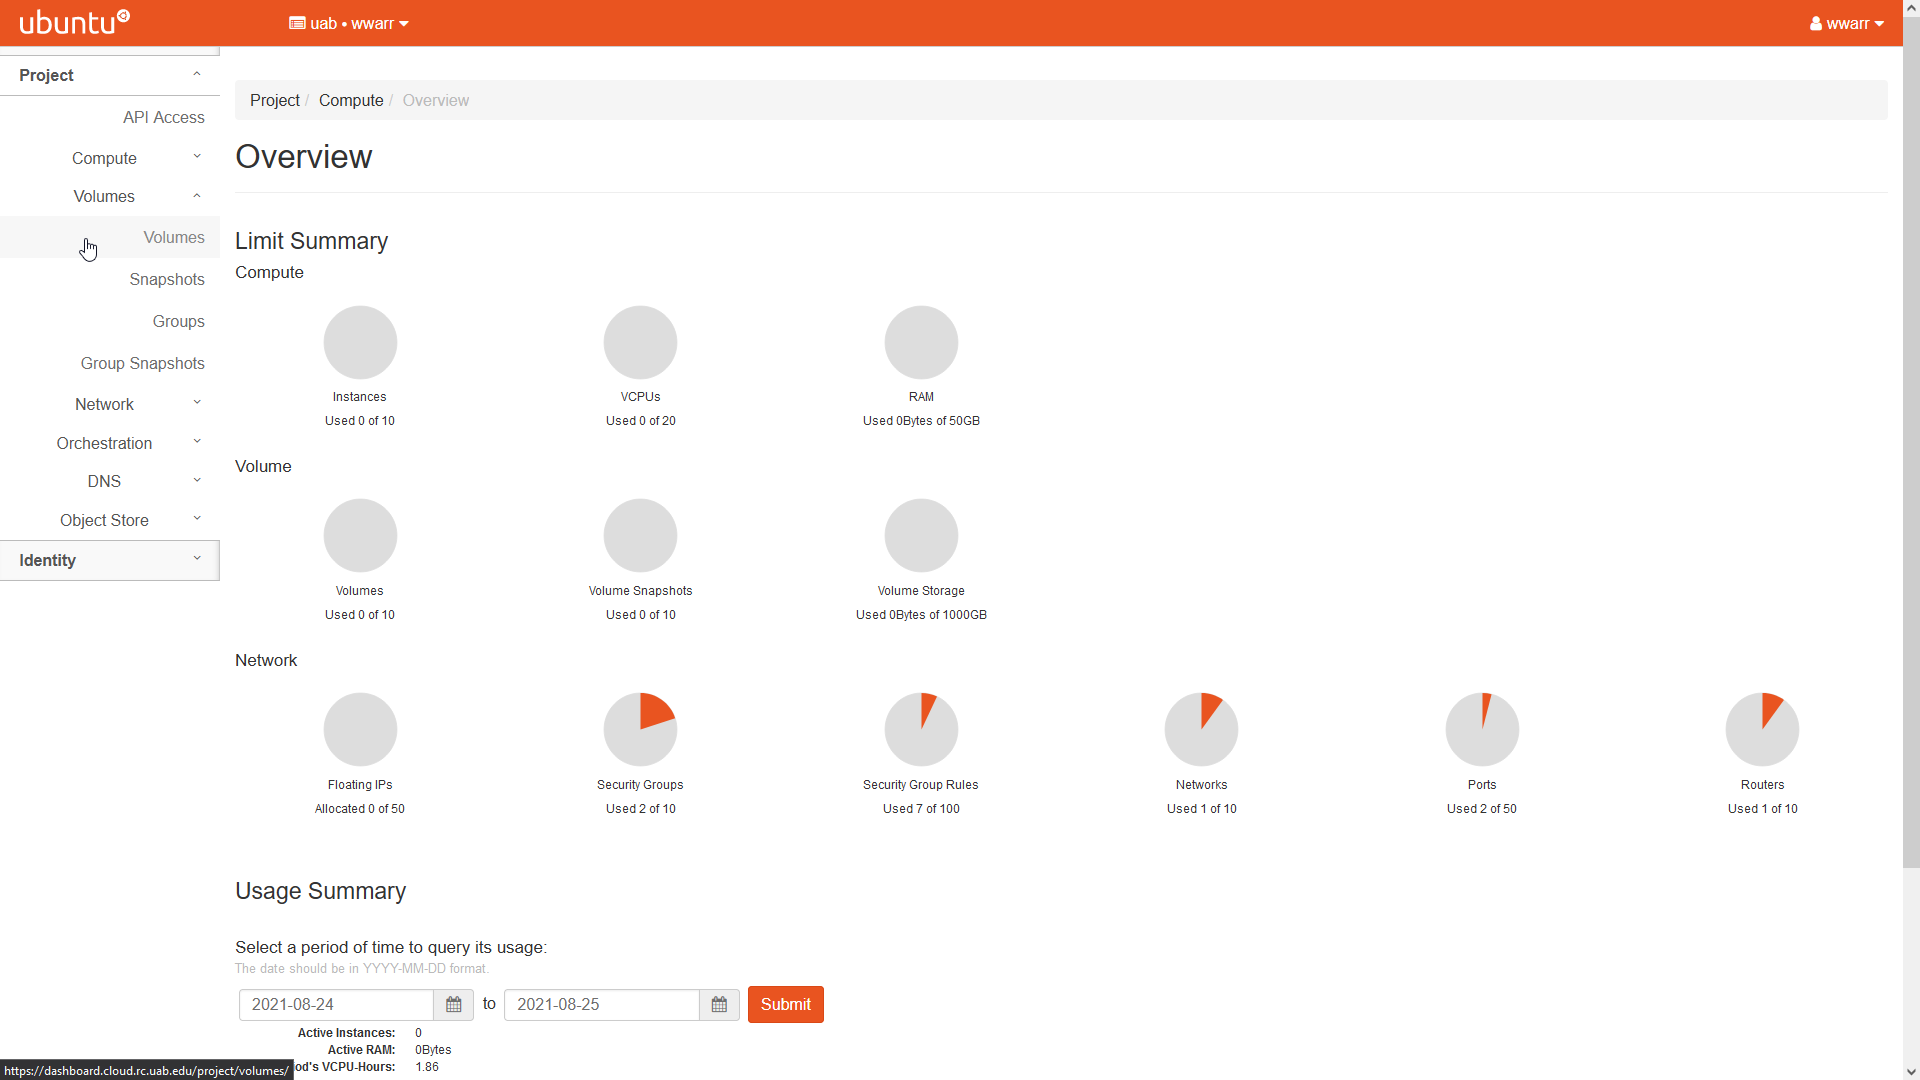
Click “Volumes” within the fold-out to open the “Volumes” table page.
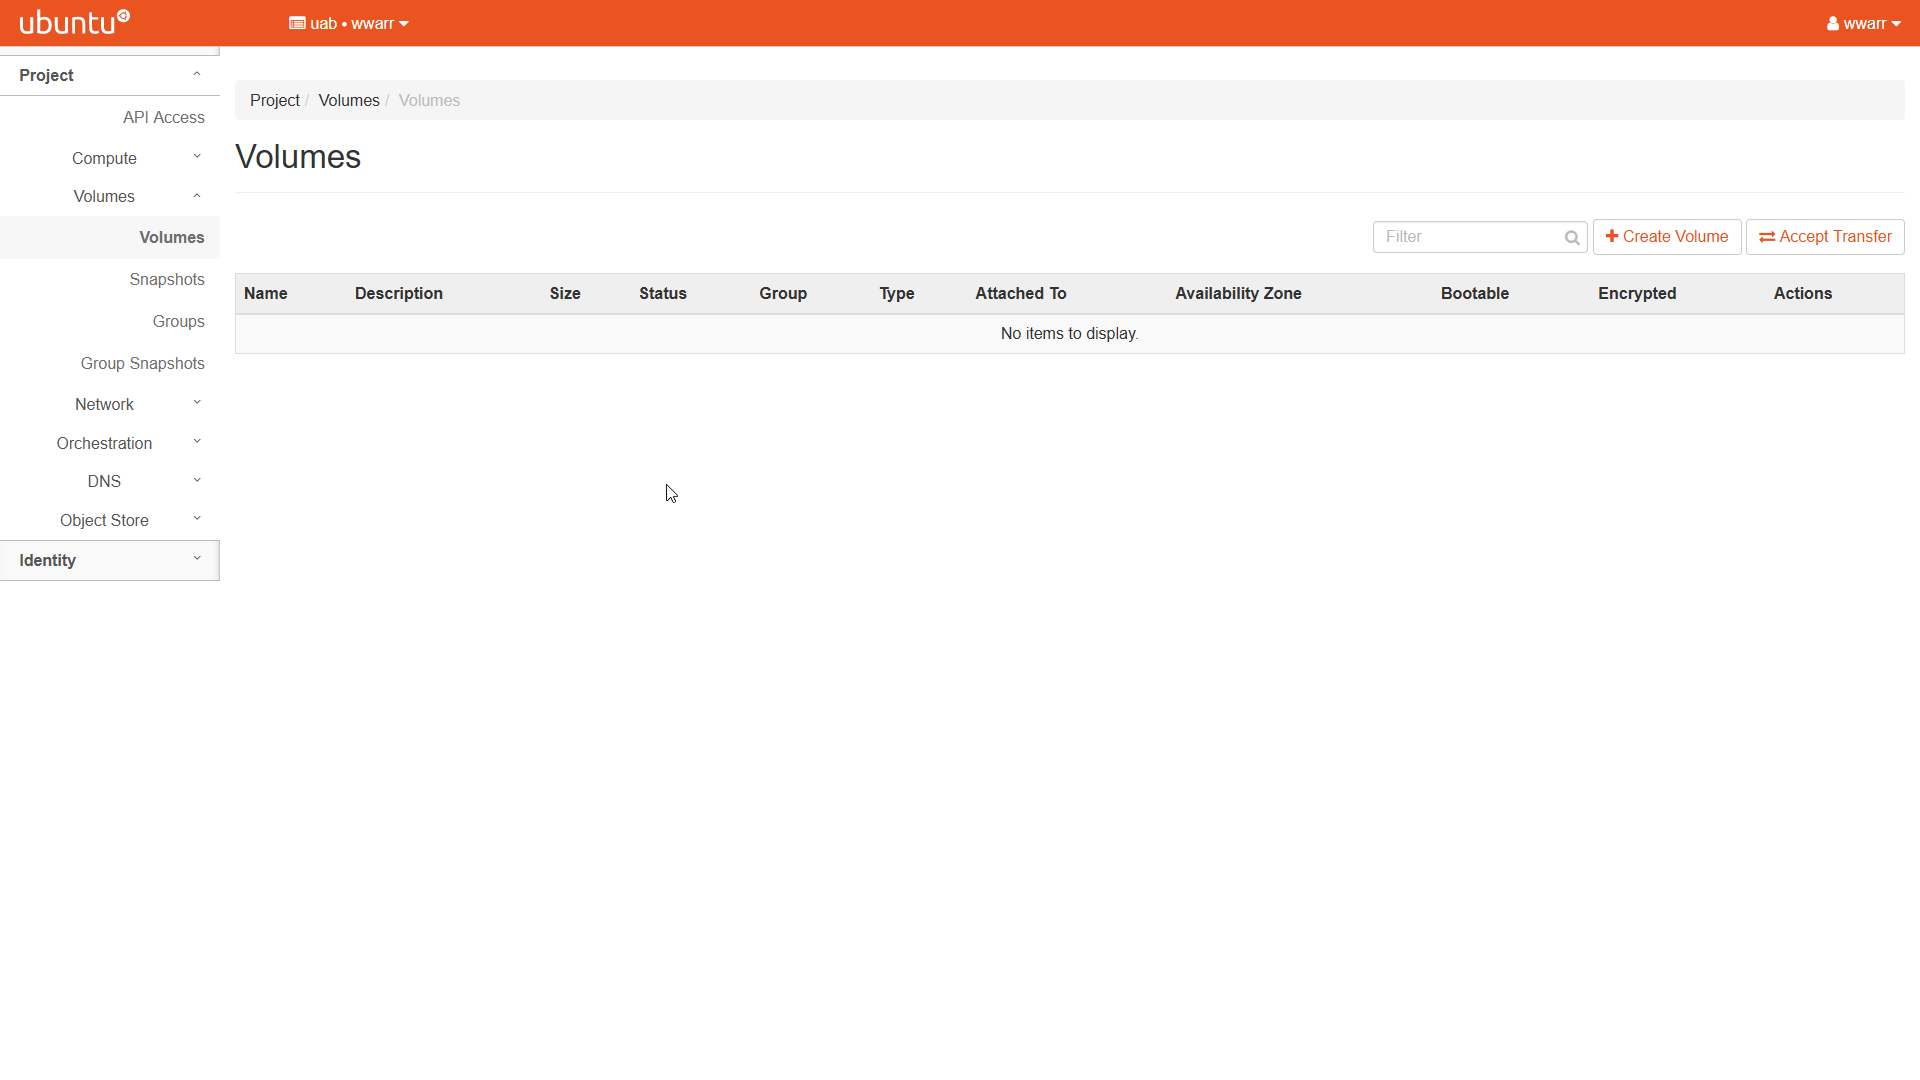
Click “+ Create Volume” to open a dialog box.
Fill out the dialog box.
Enter a “Volume Name”.
Enter a “Description”.
Select “No source, empty volume” in the “Volume Source” drop-down box to create an empty volume.
Select “__DEFAULT__” in the “Type” drop down box.
Select a size in GB appropriate for your needs.
Select “nova” in the “Availability Zone” drop down box.
Select “No group” in the “Group” drop down box.
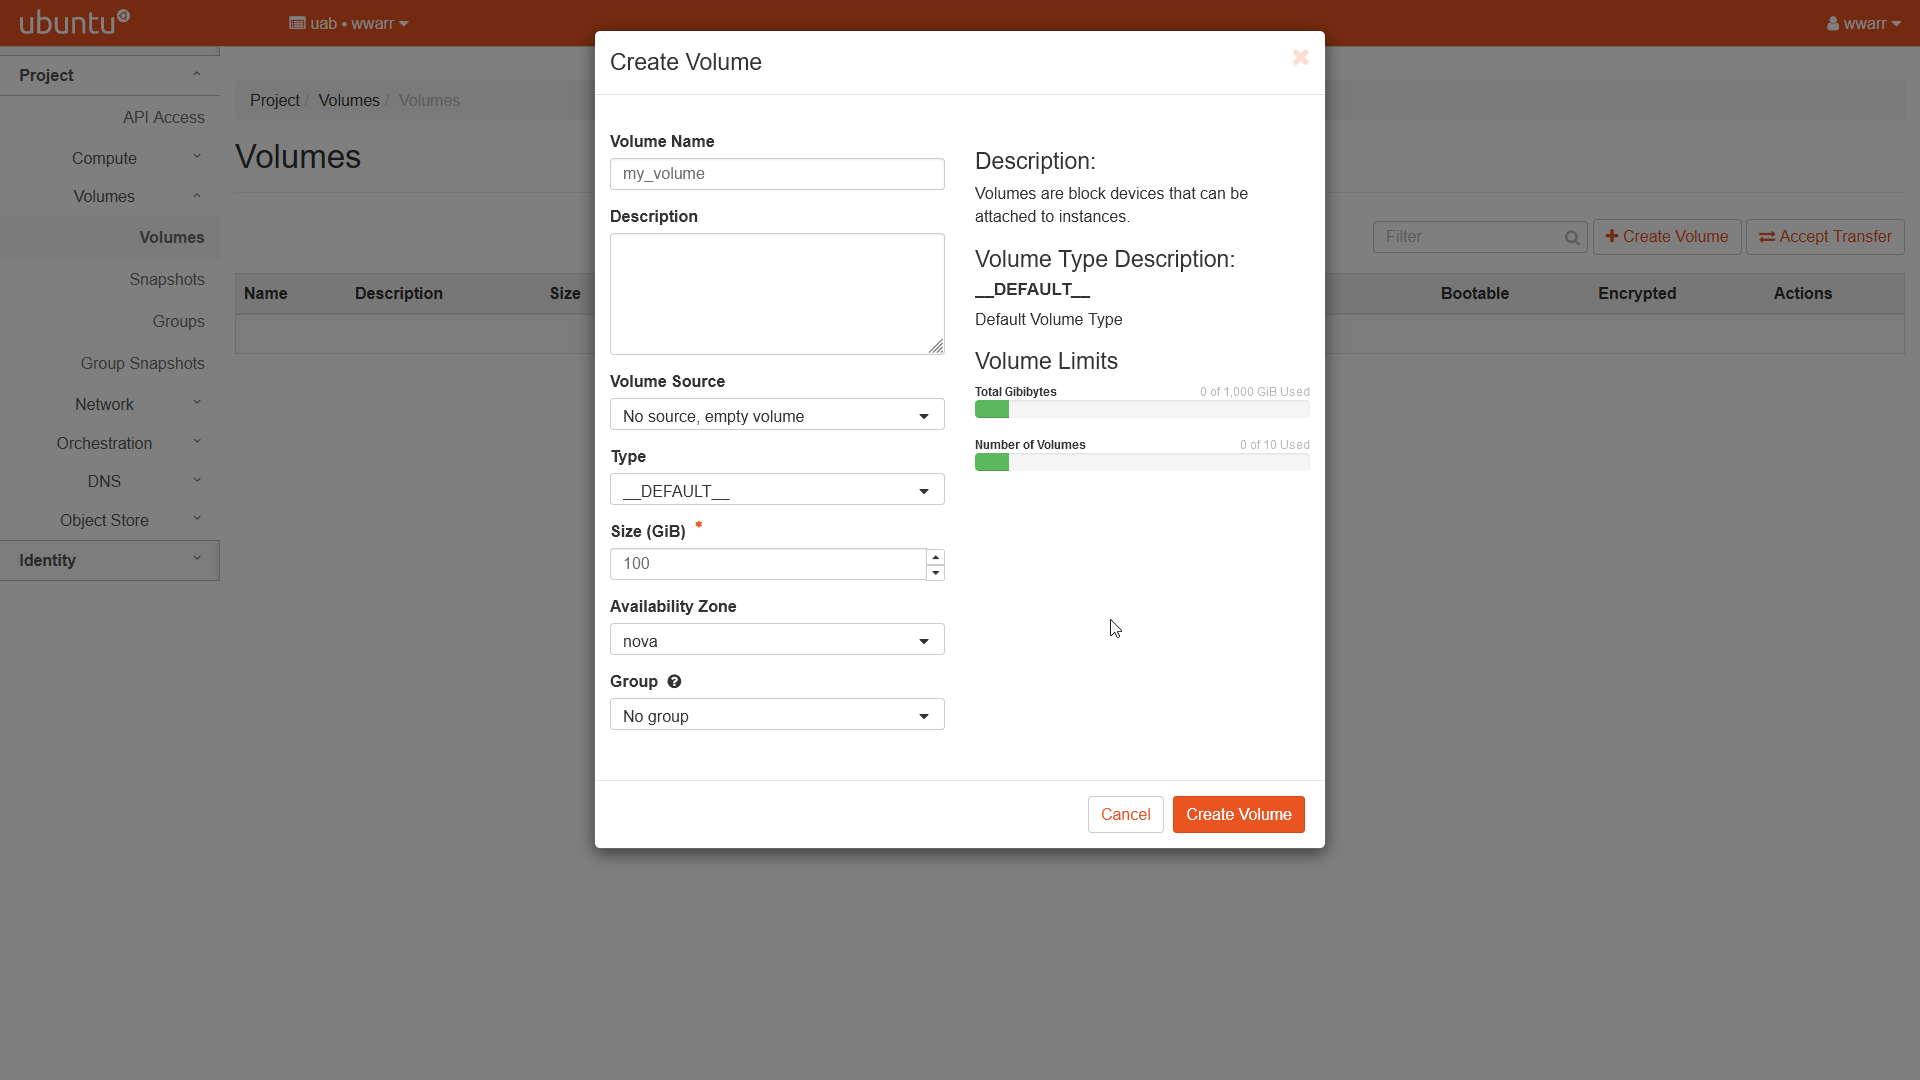
Click “Create Volume”
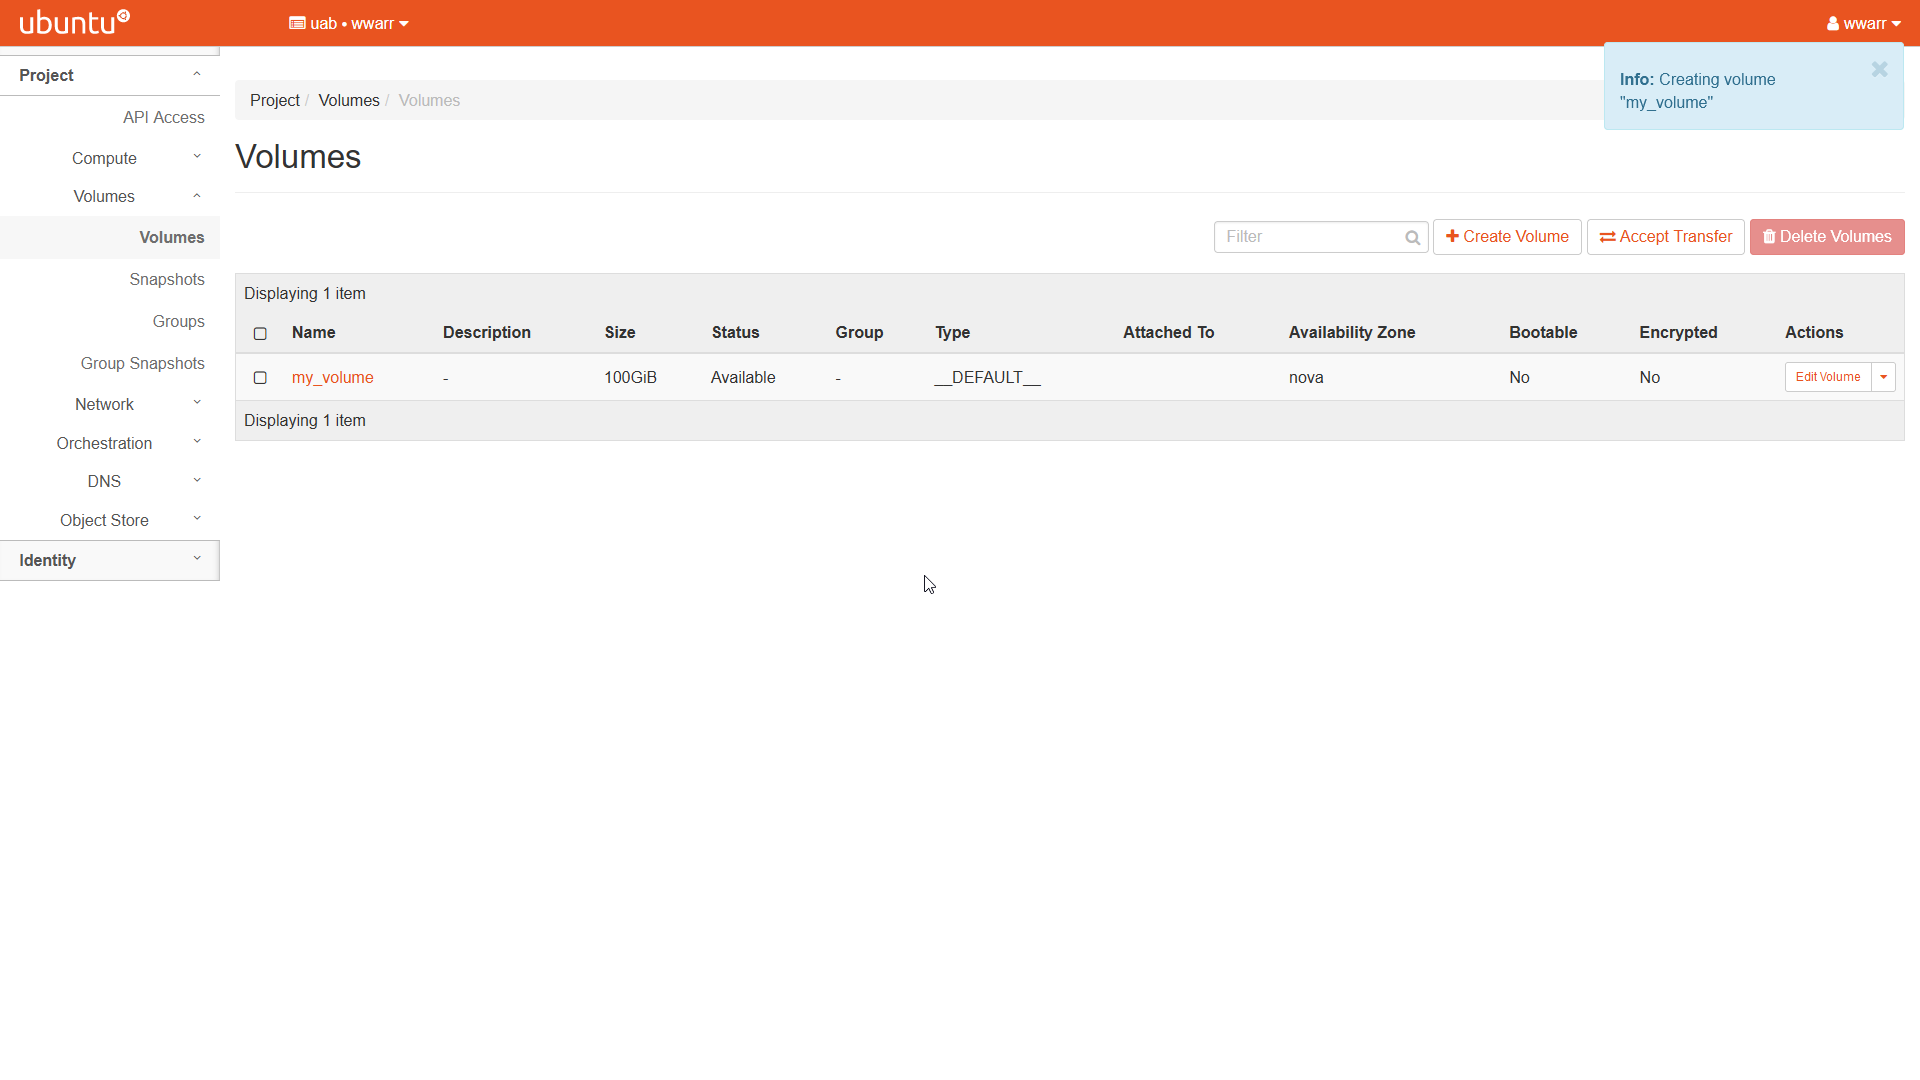
Returns to the “Volumes” table page.
There will be a new entry in the “Volumes” table.
Attaching a Volume to a Running Instance
To attach a volume you must have already created at least one using the OpenStack interface. More information can be found in [link]
Open the instances table by clicking “Compute” in the left-hand navigation pane and clicking “Instances”.
In the “Actions” column entry, click the drop down triangle button and select “Attach Volume”.
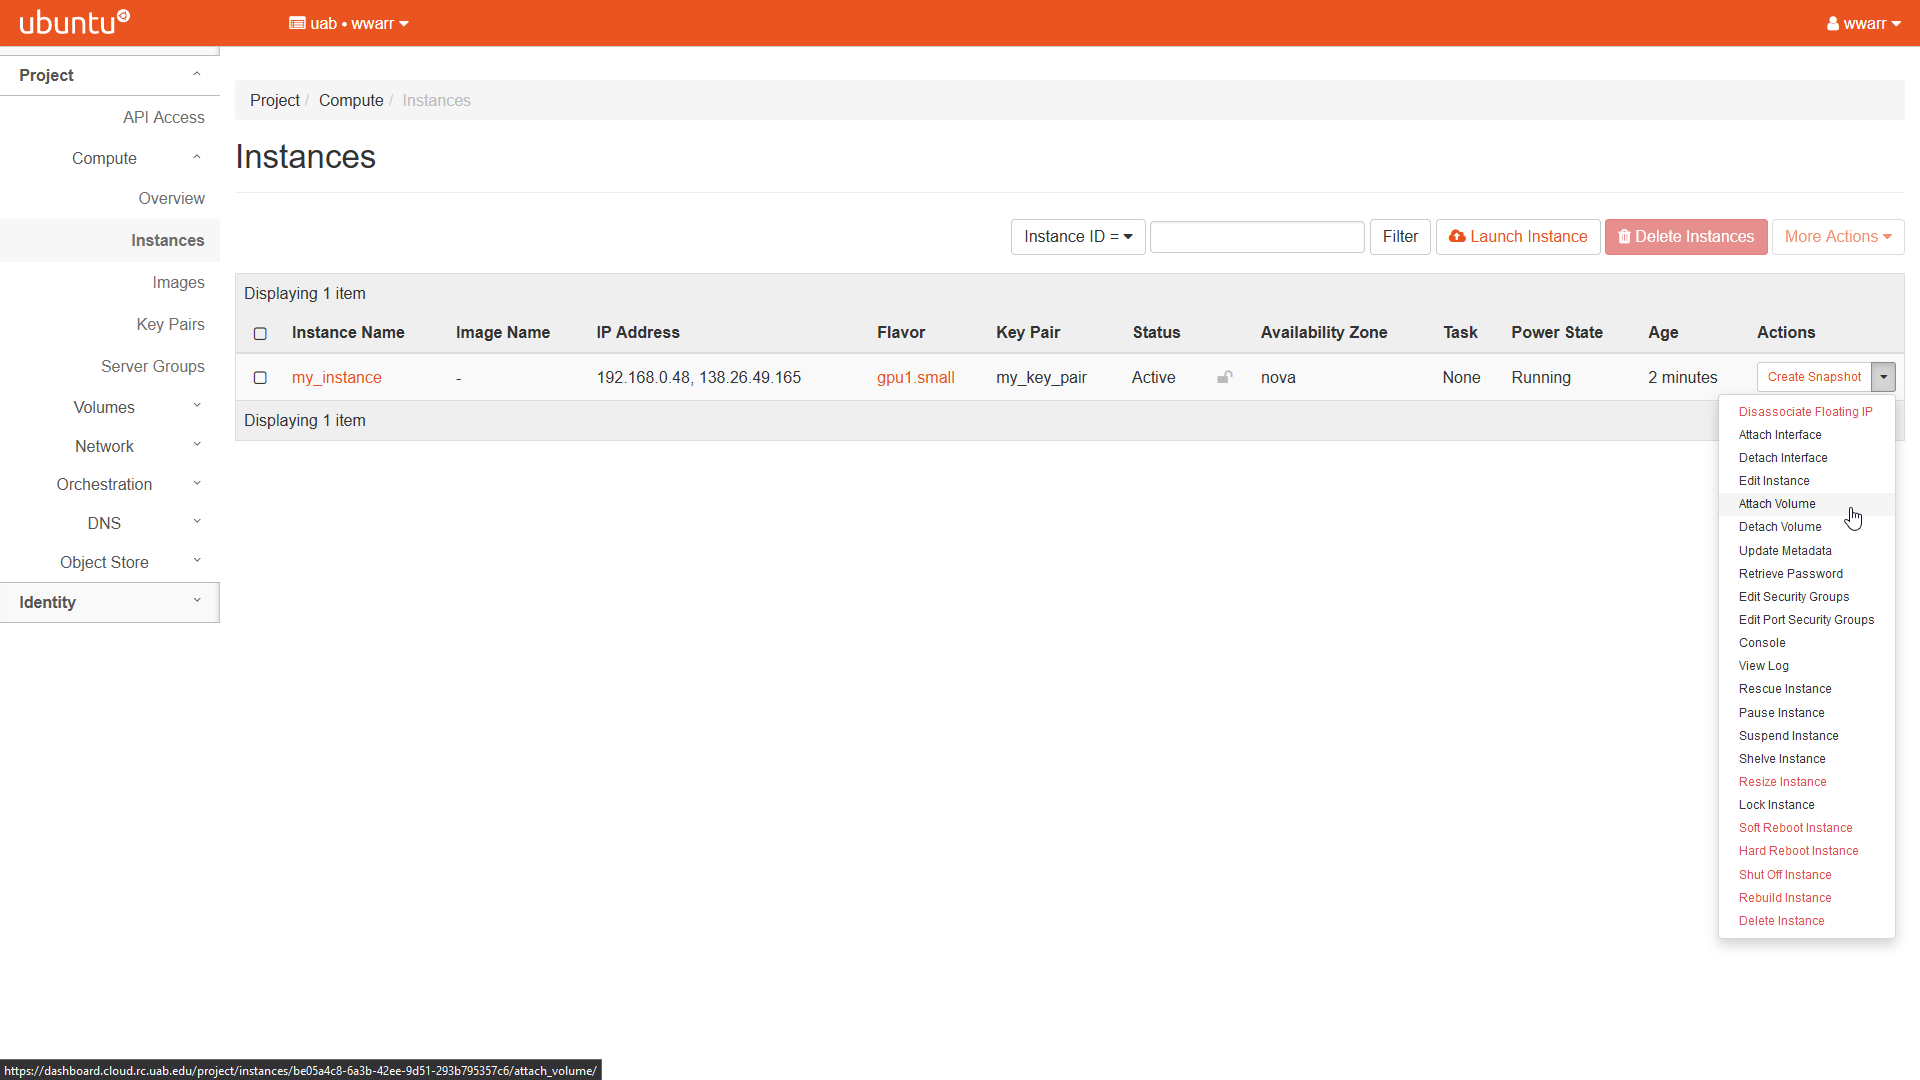
A dialog box will open.
Select a volume in the “Volume ID” drop down box.
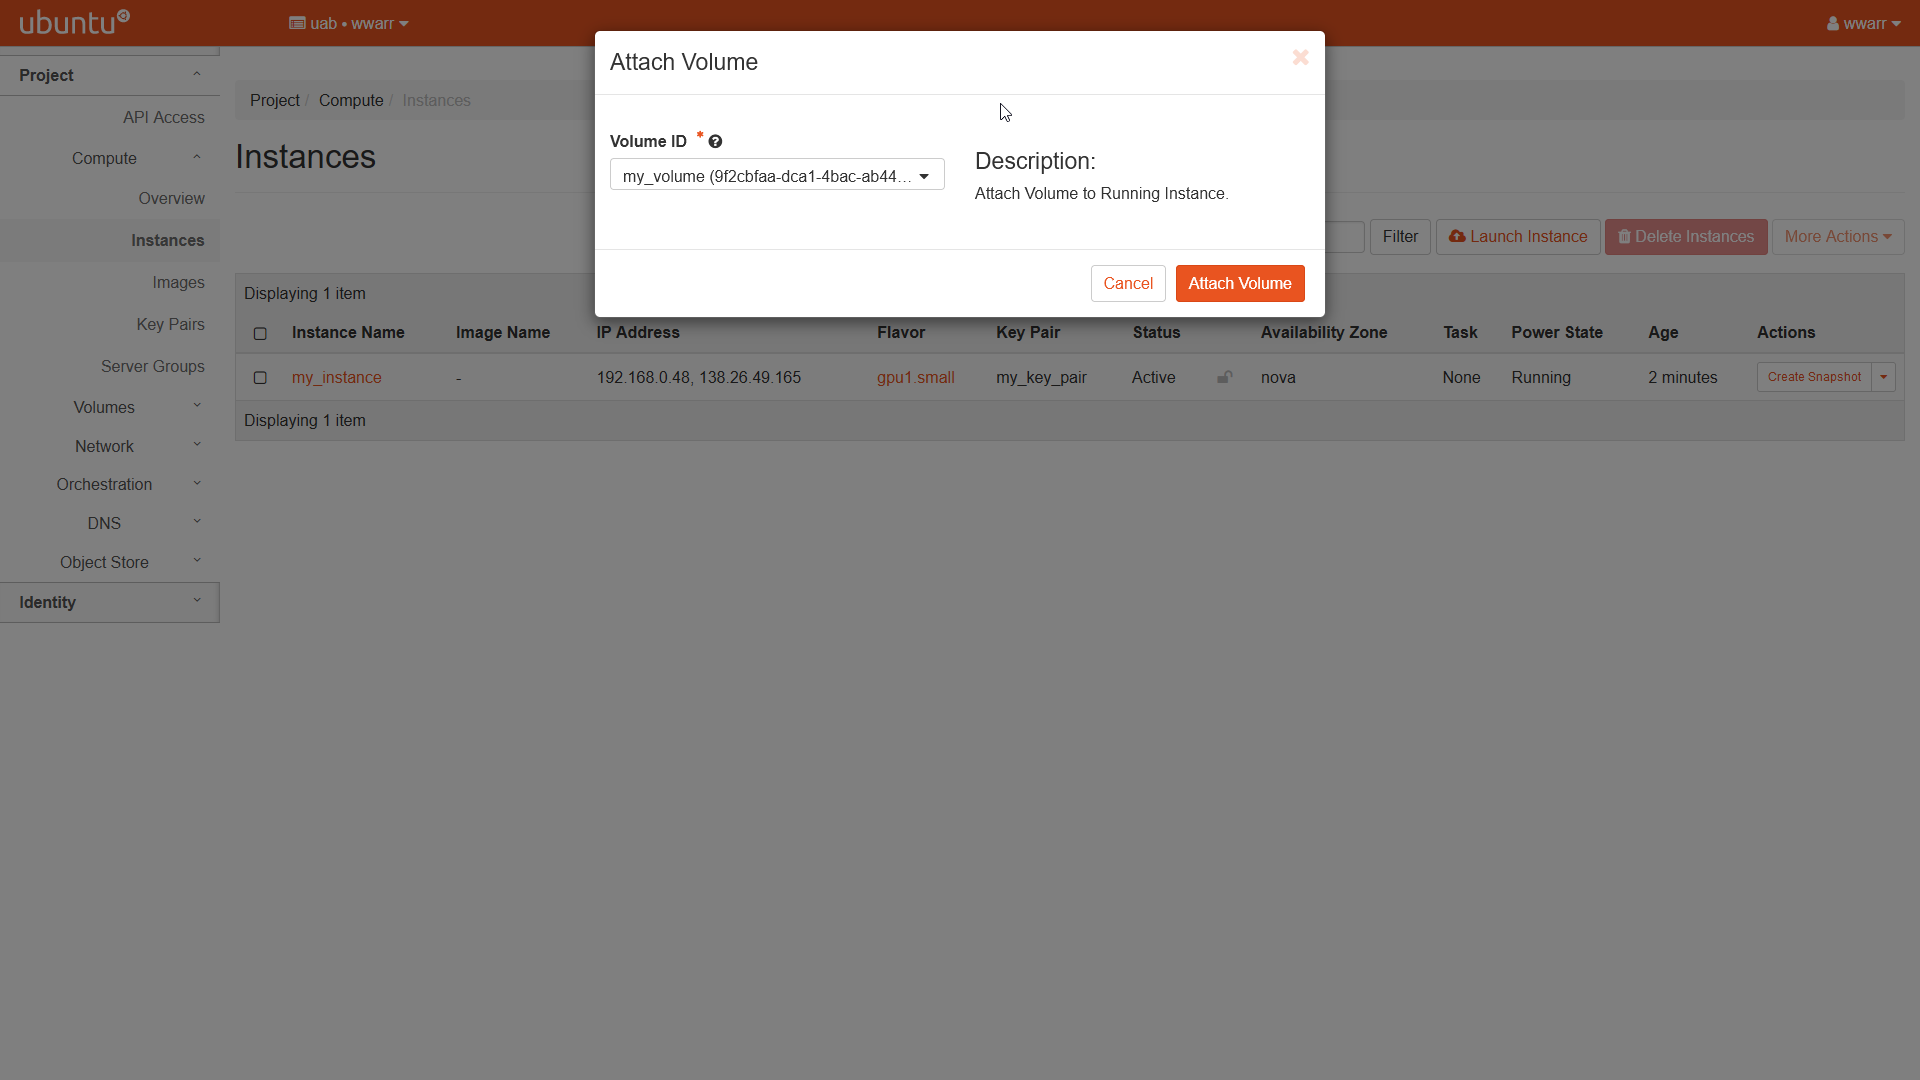
Click “Attach Volume”.
Now the volume should be attached to the instance. From here you may format the volume and mount it.
Formatting a Volume
To format a volume, you must have created a volume and attached it to an instance capable of formatting it correctly. These instructions assume a Linux operating system.
Click “Compute” in the left-hand navigation pane, then open the “Instances” menu. Click the name of any instance you wish to use to format the volume. Then click “Overview”.
Scroll down to “Volumes Attached” and make note of the
<mount>part of<volume-name> on <mount>for your attached volume as it will be used in later steps.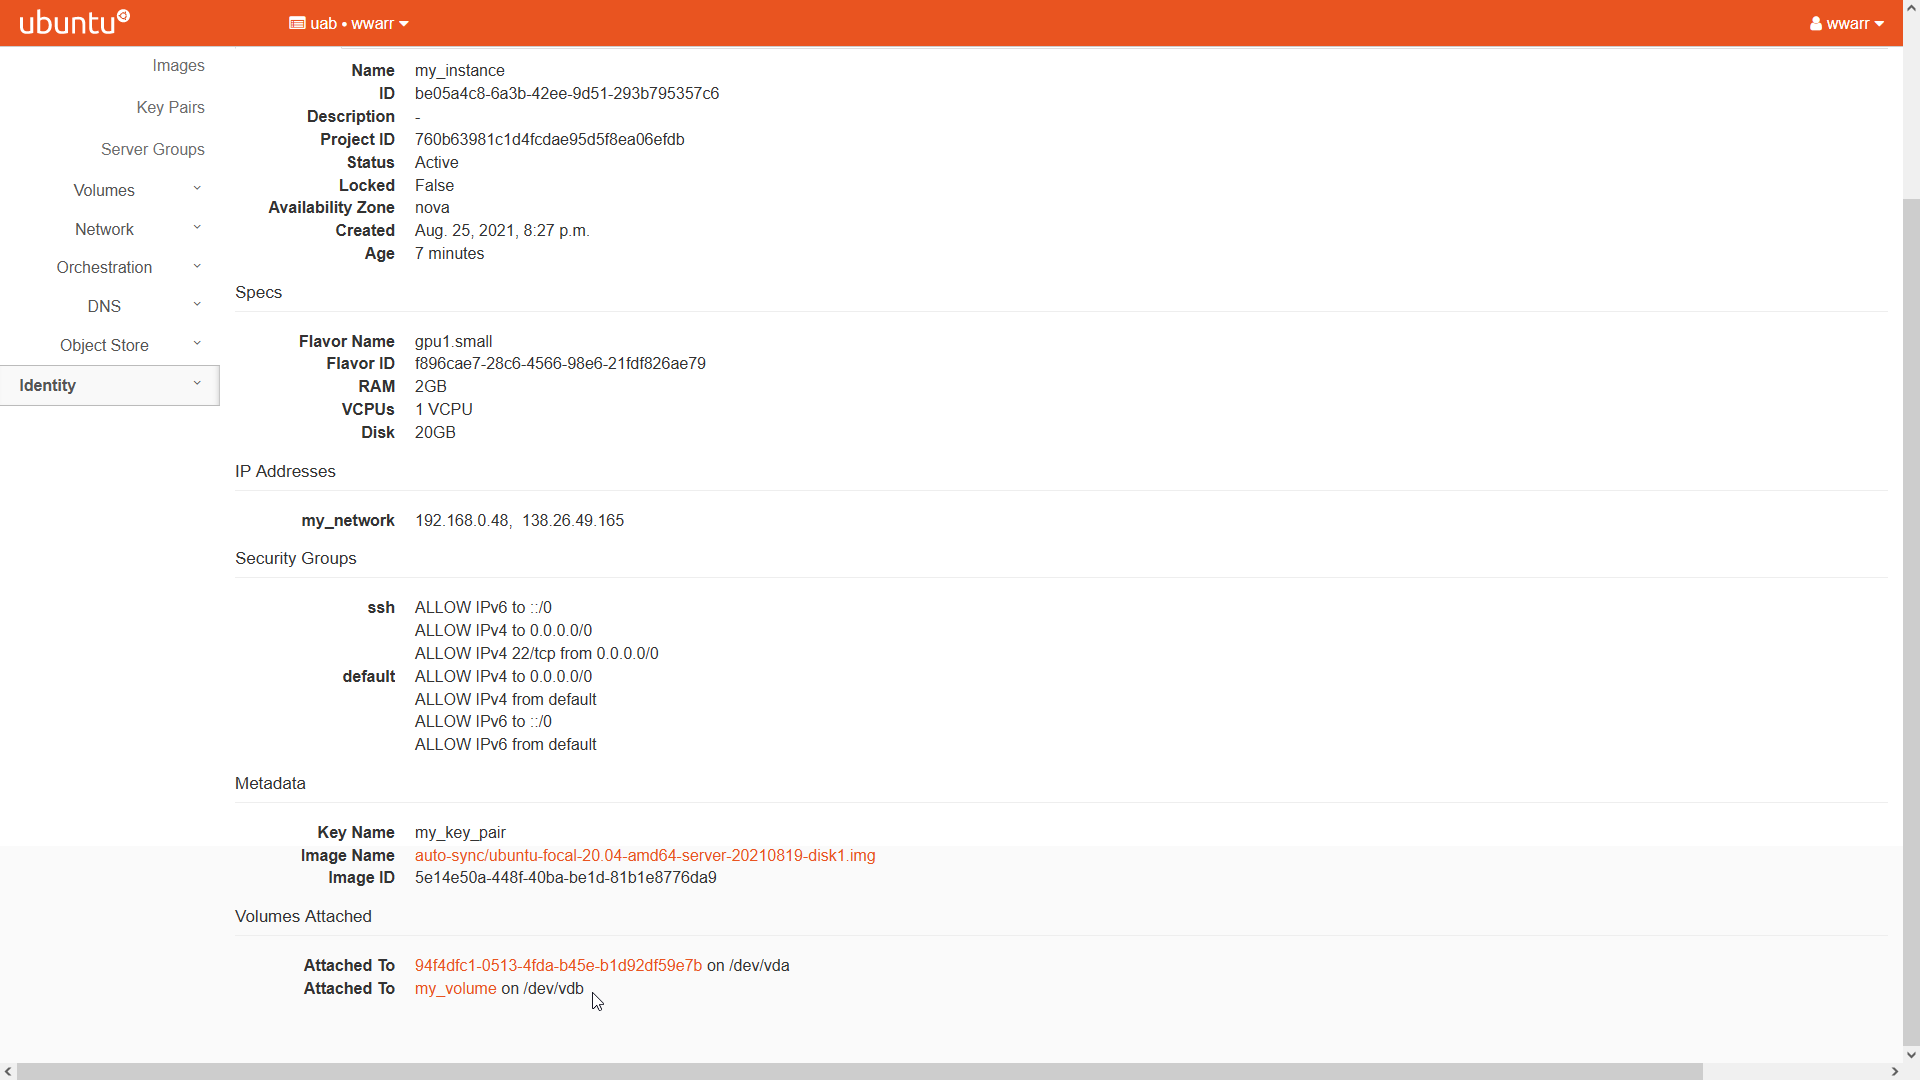
SSH into the instance from your local machine or from Cheaha.
Verify the volume is attached by using
sudo fdisk -l | egrep "<mount>""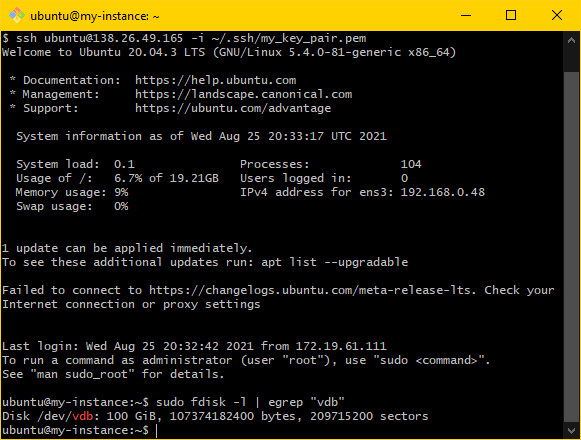
Format the volume using
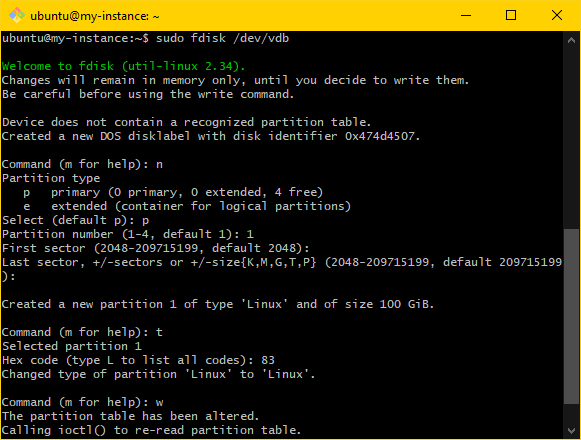
sudo fdisk "<mount>"You will be in the
fdiskutility.Enter
nto create a new partition.Enter
pto make it the primary partition.Enter numeral
1to make it the first partition.Press enter to accept the default first sector.
Press enter to accept the default last sector.
Enter
tto change partition type.Enter numerals
83to change to Linux partition type.Enter
pto display the partition setup. Note that the partition will be labeled<mount>1. This literally whatever<mount>was from earlier followed by the numeral1. Further steps will refer to this as<pmount>Enter
wto execute the setup prepared in the previous substeps.
Verify the volume is not mounted using
sudo mount | egrep "<mount>". If there is no output, then move to the next step. If there is some output then usesudo umount -l "<mount>"to unmount the volume and verify again.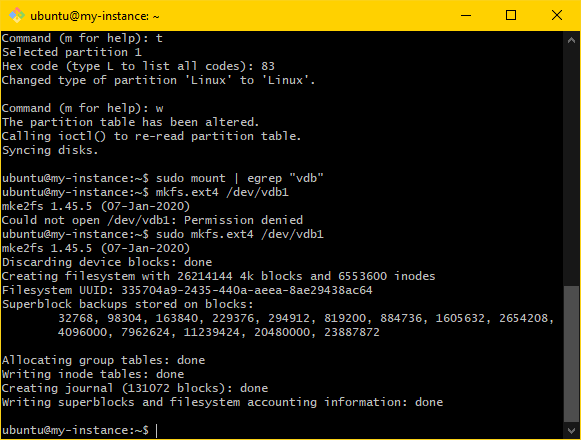
Create the filesystem using
sudo mkfs.ext4 "<pmount>". Ensure that the output looks like the following:ubuntu@my-instance:~$ sudo mkfs.ext4 /dev/vdb1 mke2fs 1.45.5 (07-Jan-2020) Discarding device blocks: done Creating filesystem with 26214144 4k blocks and 6553600 inodes Filesystem UUID: 335704a9-2435-440a-aeea-8ae29438ac64 Superblock backups stored on blocks: 32768, 98304, 163840, 229376, 294912, 819200, 884736, 1605632, 2654208, 4096000, 7962624, 11239424, 20480000, 23887872 Allocating group tables: done Writing inode tables: done Creating journal (131072 blocks): done Writing superblocks and filesystem accounting information: done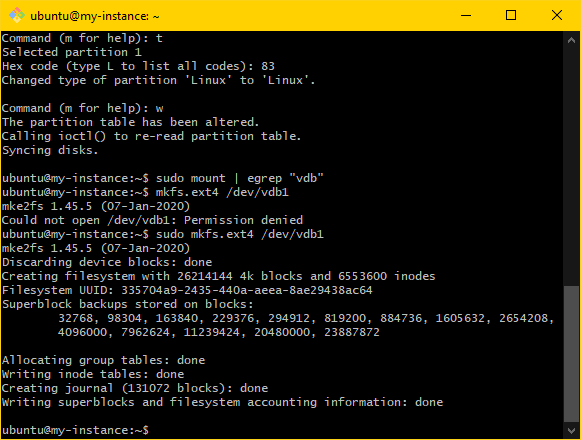
The volume is now formatted and ready for mounting within an attached instance OS. You will need to make note of <pmount> for when you are ready to mount the volume to an instance.
Mounting a Volume in an Instance
Mounting a volume needs to be done once per instance it will be attached to. It is assumed you’ve already created and formatted a volume and attached it to some instance. You’ll need the <pmount> label from when you formatted the volume.
SSH into the instance from your local machine or from Cheaha.
Obtain the uuid of the volume using
sudo blkid | egrep "<pmount>". This will be referred to as<uuid>in future steps.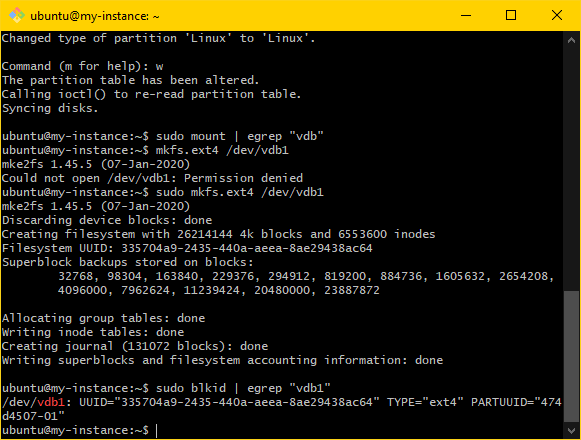
Create a directory to mount the volume as. A good choice is
sudo mkdir /mnt/<volume-name>where<volume-name>is something meaningful for you or your project. This directory will be referred to as<directory>in future steps.Mount the volume to the directory using
sudo mount -U <uuid> <directory>.Verify the volume is mounted using
df -h | egrep <pmount>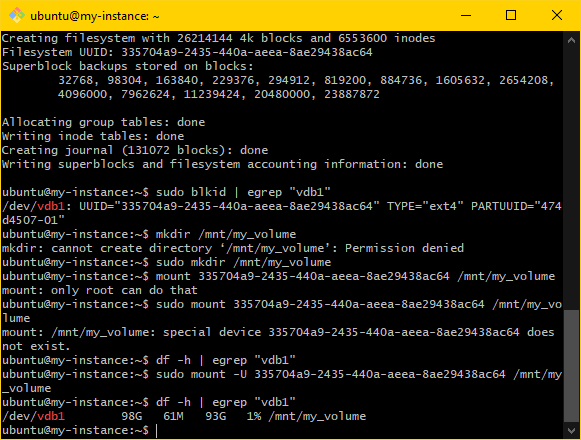
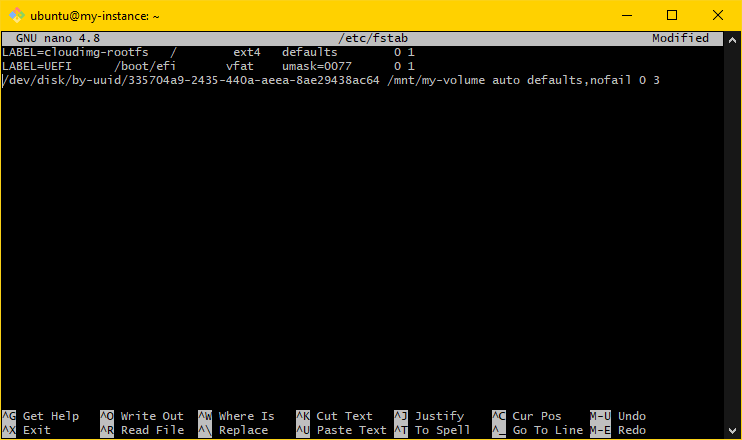
Edit the
fstabfile to make mounting persistent across instance reboots.Edit the file using
sudo nano /etc/fstab.Add the following line to the file:
/dev/disk/by-uuid/<uuid> <directory> auto defaults,nofail 0 3
Verify fstab was modified correctly by soft rebooting the instance and verifying the mount again using
df -h | egrep "<pmount>".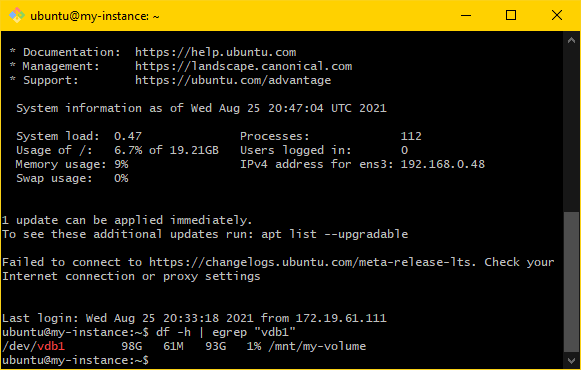
Set access control using the following commands:
sudo apt install acl # or yum install, etc., if not already installed
sudo setfacl -R -m u:<username>:rwx <directory>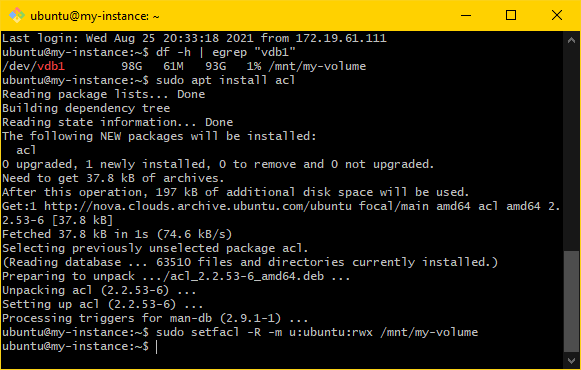
Verify the access controls were modified correctly by creating a test file and then listing files in
<directory>to ensure the file was created. The following commands will achieve this:cd <directory> touch testfile ls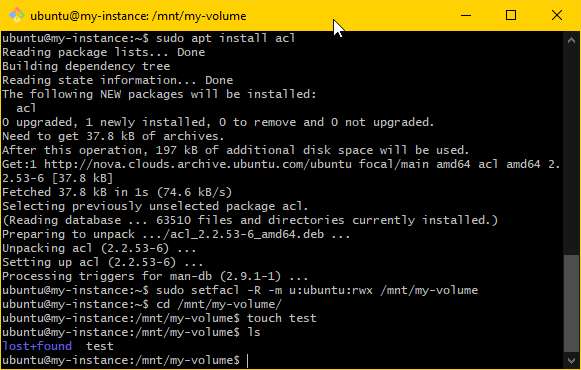
The volume is now mounted to your instance and ready for use and re-use across sessions and reboots.